| 일 | 월 | 화 | 수 | 목 | 금 | 토 |
|---|---|---|---|---|---|---|
| 1 | 2 | 3 | ||||
| 4 | 5 | 6 | 7 | 8 | 9 | 10 |
| 11 | 12 | 13 | 14 | 15 | 16 | 17 |
| 18 | 19 | 20 | 21 | 22 | 23 | 24 |
| 25 | 26 | 27 | 28 | 29 | 30 | 31 |
- codesandbox
- 코틀린
- Java
- 데이터모델링과마이닝
- 리액트
- 프로그래머스 완전탐색
- react firebase
- 자바스크립트
- 백준
- 프로그래밍 언어론
- 리액트 훅
- design pattern
- NextJS
- 디자인 패턴
- vanillaJS
- react
- JavaScript
- React JS
- 프로그래머스
- 코딩테스트 고득점 Kit 완전탐색
- react hook
- 코딩테스트 고득점 Kit
- useEffect
- 컴퓨터 네트워크
- 장고
- websocket
- useState
- 자바
- 프로그래머스 자바
- 자바 공부
- Today
- Total
기록하는 개발자
[JavaScript] js 에서 html의 element 사용하기 본문
<HTML>
<!DOCTYPE html>
<html lang="en">
<head>
    <meta charset="UTF-8">
    <meta http-equiv="X-UA-Compatible" content="IE=edge">
    <meta name="viewport" content="width=device-width, initial-scale=1.0">
    <link rel="stylesheet", href="style.css">
    <title>Momentum</title>
</head>
<body>
    <div class="fruit">
        <h1 id="first">Peach🍑</h1>
    </div>

    <div class="fruit">
        <h1 id="second">GreenApple🍏</h1>
    </div>

    <div class="fruit">
        <h1 id="third">WaterMelon🍉</h1>
    </div>

    <br>
    <div id="weather">
        <h2>☁</h2>
        <h2>🌞</h2>
        <h2>☃</h2>
        <h2>☔</h2>
    </div>

    <script src="app.js"></script>
</body>
</html>
<CSS>
body{
background-color: lightblue;
text-align: center;
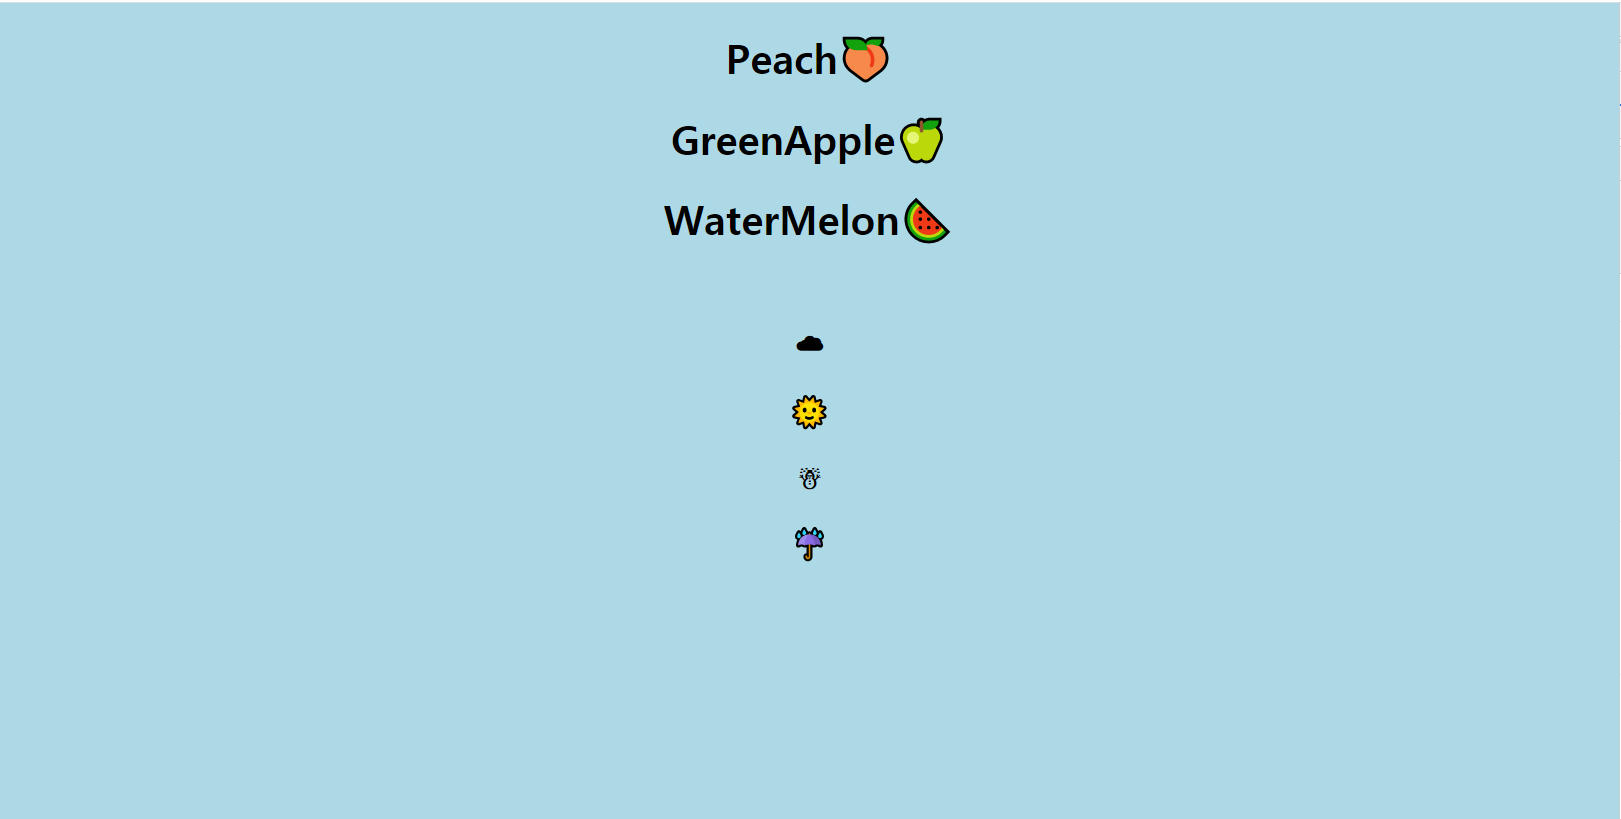
}<js 적용 이전 화면>

// document : 현재 js 파일과 연결된 html 파일
// document에 first 라는 id를 가진 element를 가져온다.
let firstElement=document.getElementById("first");
console.log(firstElement);

// document에 second 라는 id를 가진 element의 innerText를 가져온다.
let SecondElement=document.getElementById("second").innerText;
console.log(SecondElement);

let ThirdElement=document.getElementById("third");
ThirdElement.innerText="Corn🌽"
console.log(ThirdElement);


//querySelector 에 해당하는 첫 번째 내용만 가져온다.
let temp=document.querySelector("h1");
console.log(temp);

//querySelector 에 해당하는 모든 내용을 가져온다.
temp=document.querySelectorAll(".fruit h1");
console.log(temp);

/*아래 두 줄은 같은 일을 한다.
querySelector 에서는 css selector 자체를 전달하므로
id를 가져옴을 명시하기위해 # 사용*/
temp=document.getElementById("weather");
console.log(temp);
temp=document.querySelector("#weather");
console.log(temp);
<위 js 파일 적용 후 화면>

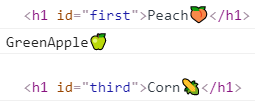
<console.log가 실행된 모습>
→ first 라는 id를 가진 element를 가져온다.

let firstElement=document.getElementById("first");
console.log(firstElement);
→ second라는 id를 가진 element의 innerText를 가져온다.
let SecondElement=document.getElementById("second").innerText;
console.log(SecondElement);
→ third라는 id를 가진 element의 innerText를 변경한다.
let ThirdElement=document.getElementById("third");
ThirdElement.innerText="Corn🌽"
console.log(ThirdElement);

→ querySelector 에 해당하는 첫 번째 내용만 가져온다.
let temp=document.querySelector("h1");
console.log(temp);
→ querySelector 에 해당하는 모든 내용을 가져온다.
temp=document.querySelectorAll(".fruit h1");
console.log(temp);

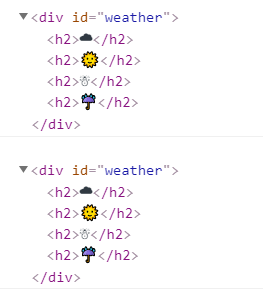
→ 아래 두 코드는 같은 일을 한다.
결과적으로 console 창에 동일한 내용이 출력되었다.
temp=document.getElementById("weather");
console.log(temp);
temp=document.querySelector("#weather");
console.log(temp);
'Web > Javascript' 카테고리의 다른 글
| [VanillaJS] Google Chrome App Momentum 만들기 - 3-2. Random Background Image (0) | 2021.08.03 |
|---|---|
| [VanillaJS] Google Chrome App Momentum 만들기 - 3-1. Random Quotes (0) | 2021.08.03 |
| [VanillaJS] Google Chrome App Momentum 만들기 - 2. Clock (0) | 2021.08.03 |
| [Vanilla JS] Google Chrome App Momentum 만들기 - 1. Log In (0) | 2021.08.02 |
| [JavaScript] JS Event 처리(onClick) (0) | 2021.08.02 |


